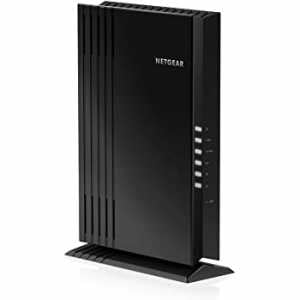
Netgear has recently launched a new WiFi 6 mesh extender into the market, which can be purchased here. With the, a 4-stream WiFi 6 extender, this device is designed for the future of WiFi, allowing you to create a powerful mesh WiFi network that delivers improved coverage to every corner of your home. It is possible to connect your desktops, laptops, cellphones, tablets, and other devices to the Internet with the Netgear EAX20 extender setup because it supports the current version WiFi 6 (802.11ax).
Additional functionality, combined with backward compatibility with both previous and current generation devices and routers, means you can experience lightning-fast WiFi in the most remote parts of your home today, as well as for all of your anticipated technological investments in the future. Despite the fact that the extender will be officially available, a number of people who like to stay up with the current technical trends are interested in learning more about the EAX20 in general.
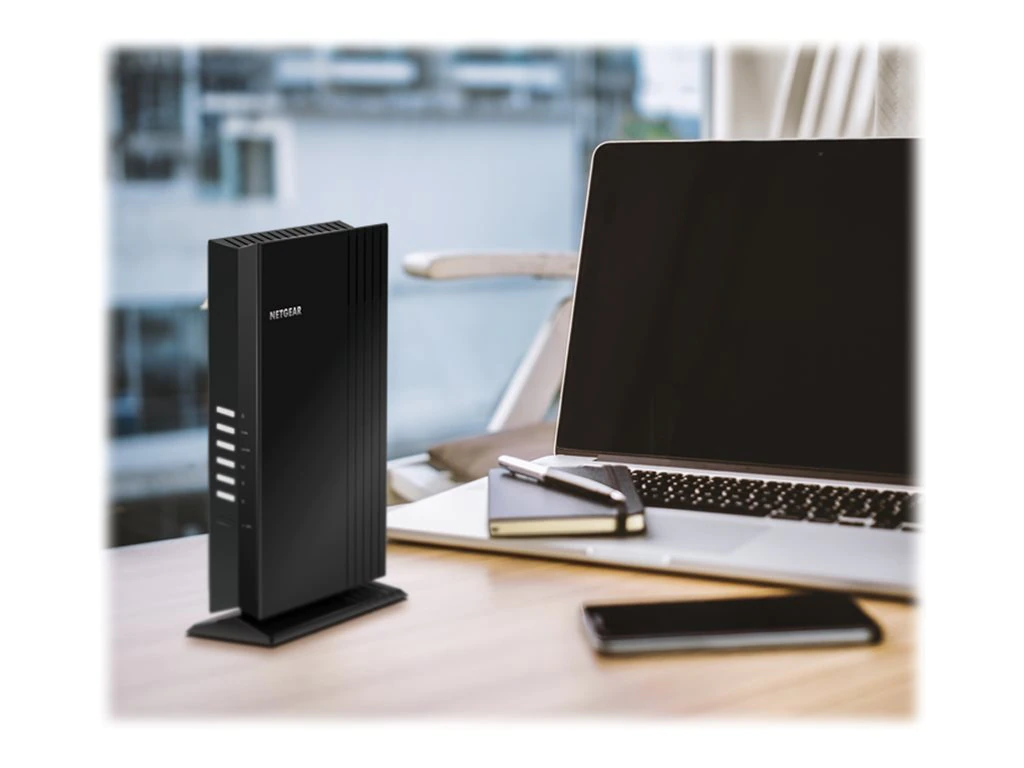
It will enhance your home wifi network and remove the dead areas present in your household and you will experience a great speed which will allow you stream 4k videos and enjoy high graphics games without any lag.
That’s why we’ve created this page to walk you through each and every feature, as well as the installation process, of the Netgear EAX20 AX1800 4-stream WiFi 6 mesh extender – specifically for you. Let’s get started.
WPS Method:
The Netgear AX1800 wi-fi mesh extender can be set up very quickly using the WPS button. You can continue the installation and configuration of your wireless router network even if you do not have the SSID and passkey. This method takes only 2 minutes out of your day to complete the setup procedure. Implement configuration by following the procedures outlined below:
- Turn on your Netgear extender and position it as close as possible to your home network.
- To begin, hit the WPS button on the wireless router’s control panel.
- Next, within 2 minutes, click the WPS button on the back of your extender to complete the process.
- The wifi range extender will begin to blink, which indicates that it is operational.
- After a while, the wifi lights will become completely white.
- If the extender does not have a continuous white light on it, it needs to be moved closer to the router to be seen.
- And then the final step is to relocate your repeater and link it to your network.
Netgear EAX20| Web-browser Method:
When configuring the extender, another option is to use a web browser to guide you through the procedure. Using this method, you can log into the wifi extender using the web domain mywifiext.net to access the login page. It will take approximately 5 minutes to complete this method of installation. You can now complete the Netgear EAX20 configuration by following the steps outlined below.
- To begin, connect your extender to a wall outlet and turn it on.
- At this point, connect your PC to the Netgear Ext network and launch a browser of your choosing.
- Enter mywifiext.net or IP address in the search bar of your browser. A login window for the Netgear AX1800 extender will appear.
- To proceed with the installation, simply fill out the relevant information on the web page and click on the ‘Login’ button.
- You will then be presented with a list of Wi-Fi networks from which you can select your router’s SSID and input its wifi password.
- After that, you can modify the wireless security settings for the extended network.
- After making the necessary adjustments to the present settings, you can move the device to another area.
Troubleshooting Steps:
If you are experiencing difficulties logging into your Netgear extender, you can attempt the troubleshooting procedures listed below:
- Check all of the wiring connections one more time.
- Reboot your Netgear EAX20 wireless range extender by pressing the power button twice.
- Double-check that you’re entering mywifiext.net in the address bar and not the search box when you log in.
- Make sure you’re using the most recent firmware file for your Netgear EAX20 extender.
- Restore the default configurations of the Netgear extender.
We recommend that you contact our technical specialists using their live chat window or by calling their toll-free number if none of the troubleshooting techniques above were successful in resolving your Netgear EAX20 configuration issues.
0 comments